#940-0134K Portable Woodgrain Marley Surface Interlocking Dance Floor Kits
General Installation Instructions
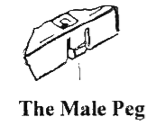
There are two parts to the Interlocking Snap Together Dance Floor locking System:

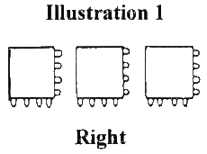
All tiles on any given installation should ALWAYS HAVE THE FEMALE LOOPS GOING IN THE SAME DIRECTION (Illustration #1)
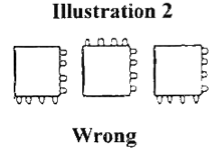
If you inadvertently rotate the tiles 90 degrees, it will snap into place, but you will not be able to complete the installation properly (Illustration #2)
It is important that all debris be removed from the underlying surface before laying the Interlocking Snap Together Dance Floor system in place so there are no lumps and the floor lays flat on the surface. In cases of surface irregularities, fill or grind down the surface to bring it as level as possible. Interlocking Snap together Dance Floor may be cut or trimmed using conventional hand tools such as a table saw or jig saw with standard blades. Edges may be filled or sanded after cutting if needed. To ease installation, lay out patterns or designs of your floor on graph paper prior to installation.
Assembly
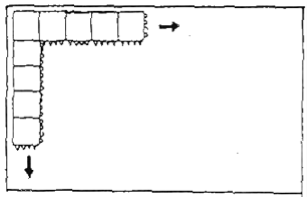
Always begin the assembly in one corner, pointing the female loops in the same direction that additional tiles are to be added (Illustration #3)