Mirrorlite ™ Horizontal Mirror Rolling Stand Assembly
Glassless Mirror Stackable Stand - Horizontal
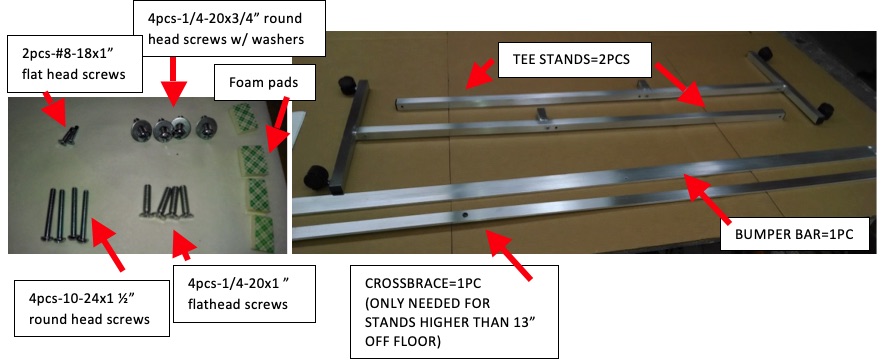
Components List:
Assembly:
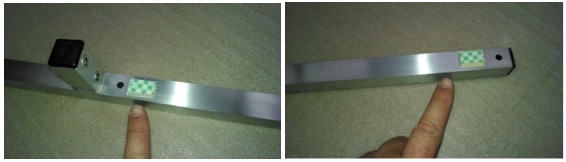
1) Attach foam pads above and below mirror mounting holes on T-stands.
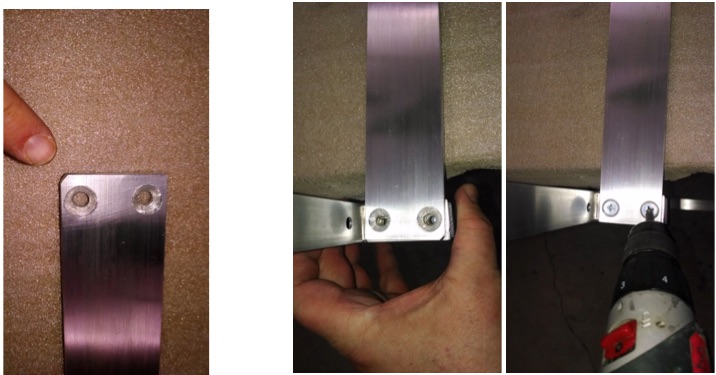
2) Locate “Bumper Bar” and ¼” Flathead screws. Place round corner towards black cap on T-stands stop with counter sinks facing up.
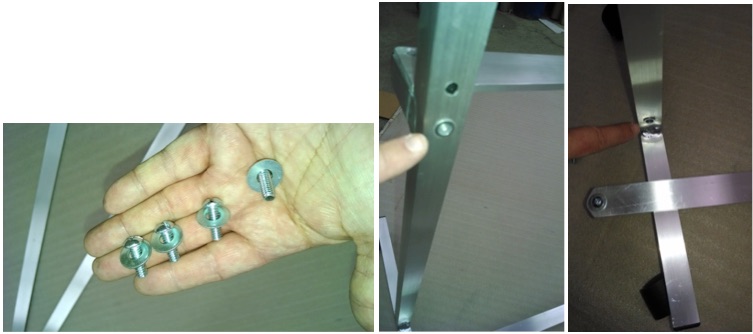
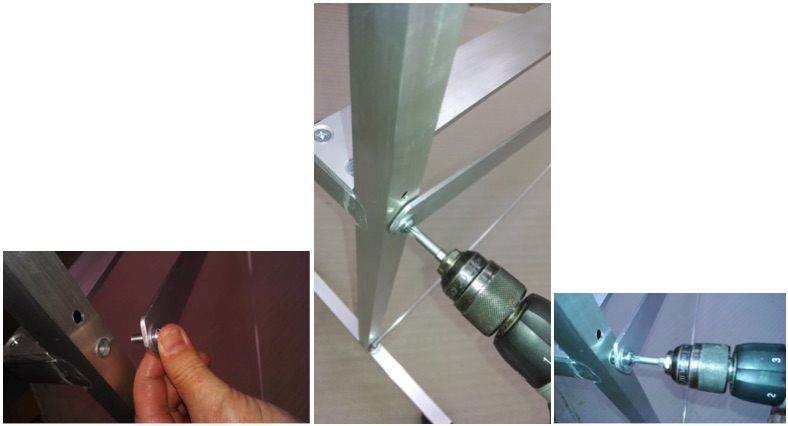
3) Attach crossbrace with ¼” roundhead screws into threaded inserts on T-stands.
(SKIP THIS STEP IF YOUR STANDS ARE LOWER THAN 13” OFF FLOOR)
(SKIP THIS STEP IF YOUR STANDS ARE LOWER THAN 13” OFF FLOOR)
4) After all 4 screws are in place, put stand upright on floor and tighten all screws.
(SKIP THIS STEP IF YOUR STANDS ARE LOWER THAN 13” OFF FLOOR)
(SKIP THIS STEP IF YOUR STANDS ARE LOWER THAN 13” OFF FLOOR)
5) Release protective wrap from mirror edge before placing mirror on stand. Secure mirror with 10-24x 1 ½” round head screws into threaded insert located by red tape flag.
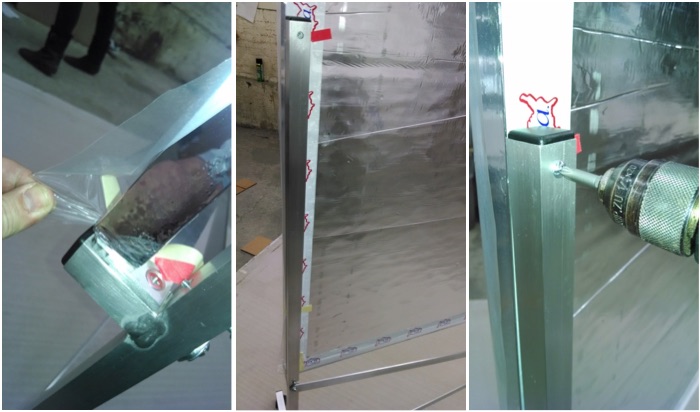
6) Carefully tip the mirror and stand on its side, showing the bottom of the bumper bar. Drill drive the #8-18 flat head screws in the countersunk holes on bumper bar. Do not over tighten or strip. Set clutch on drill half the full strength setting.
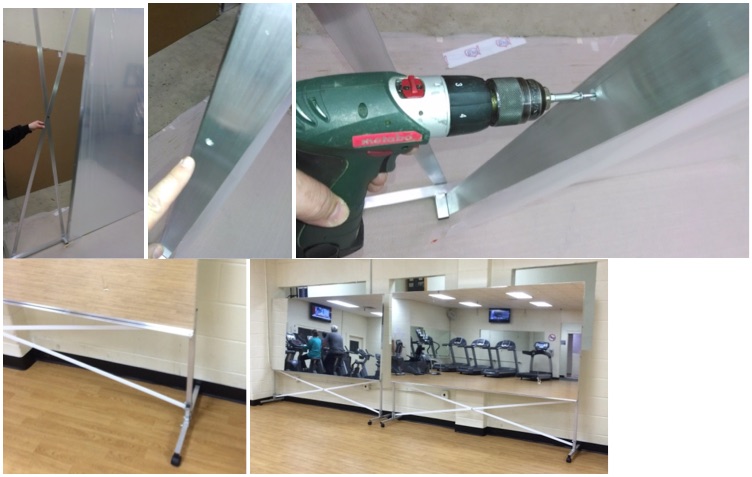
Complete mirror.